Main menu
You are here
Prusa Maintenance
[last updated: 2020-04-29]
3d printing home page
-----
- On this page:
- Prusa recommended maintenance:
Systems Check
Common Problems
Extruder Gears
Adjust Idler Tension - Adjust Idler Tension While Printing
- Unclog a Clogged Nozzle
- Cold Pull
- Remove Extruder Hot-end
- Change a Nozzle
- from: (link to:) Prusa suggested maintenance
- Systems Check:
LCD Menu > Calibration > Selftest
This automatic procedure (on Mk3) checks fans, axes, and extruder & bed heaters. - General check of common problems:
(link to:) Prusa (...stay tuned for condensed version...) - #4: Extruder Gears:
- Link Broke... (link to:) Prusa BondTech Gear maintenance
- First level extruder gear maintenance:
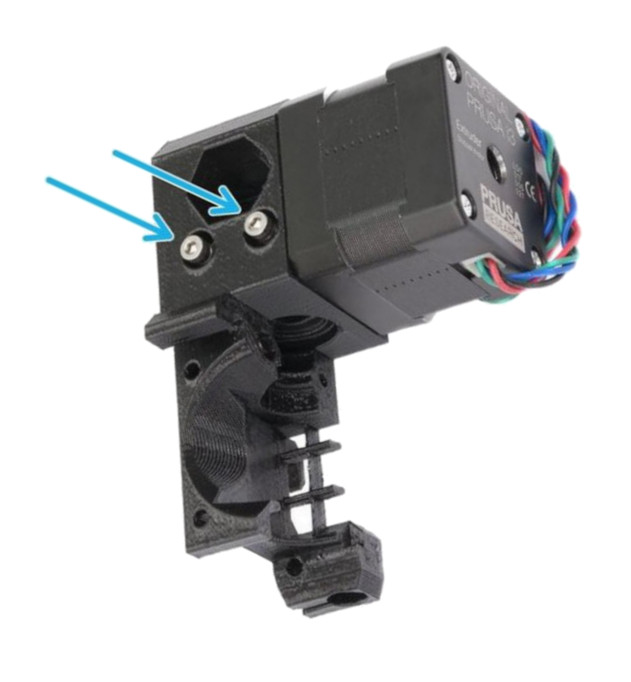
- Remove idler plug
- Remove two screws holding the extruder idler.
This allows opening the idler 'door' to inspect the gears.
With the door open, executing unload filament, if the gears move fine,
then the motor is OK.
Make sure the filament is centered in the grooves in the gears.
Inspect gears for debris. Clean and lubricate with Lithium grease as recommended by Prusa.
Make sure the gears are snug on their shafts and aren't loose. - Adjust idler tension:
- Preheat nozzle
- Loosen idler screws and slightly pry open the idler door so that filament will not be grabbed by the gears and extruded.
- When nozzle is at temperature, menu > load filament
insert filament into top of extruder
push through manually until it comes out nozzle - Gradually and evenly tighten down the idler screws until filament starts to extrude from the nozzle.
- Tighten down one more flat. Done.
- Adjusting While Printing:
- I've never seen this method recommended or even mentioned anywhere online, so I sort of invented it, but I've had good results with it.
- While printing, if the extruder starts getting very noisy, and you want to tighten the idler gears, gently insert the allen wrench into one of the idler screw heads. This has to be done with care and finesse, as the extruder head is moving back and forth during the print.
- Gently turn each screw 1 or two flats (CW to tighten), then see if noise/chattering has lessened. Repeat if desired.
- Unclog a clogged nozzle:
If everything checks out OK so far, but you don't get filament extruding, the extruder/nozzle may be clogged. - (link to:) Prusa on clearing a clogged nozzle
- (link to:) YouTube video showing how to remove a filament that is totally jammed. Basically you remove the extruder fan that normally cools the hotend fins, then heat up the nozzle to 290 or so, then pull.
- Cold Pull:
This is a procedure for thoroughly cleaning the inside of the extruder and nozzle. It can happen that tiny bits of filament get stuck inside, and while they might not cause a complete clog, they impede free flow of filament and can be collection points for debris that will eventually clog completely. - If you need to remove the extruder hotend (see link above):
- (link to:) replacing the PTFE tube, which requires pulling the hotend.
- remove front print cooling fan
- remove print cooling fan nozzle
- remove left hotend fan
- on back side, cut two zip-ties holding hotend cables
- remove extruder front cover
- use two small screwdrivers to pry the hotend out and down.
- Change a nozzle:
After printing for about 300 hrs, my extruder started making clicking/chattering noises. This is a sign the idler tension is too loose. After another 10-20 hrs, it stopped extruding filament altogether. The gears moving the filament weren't moving.
.
.
.
eof
- Systems Check:
----------------------------------
