Main menu
You are here
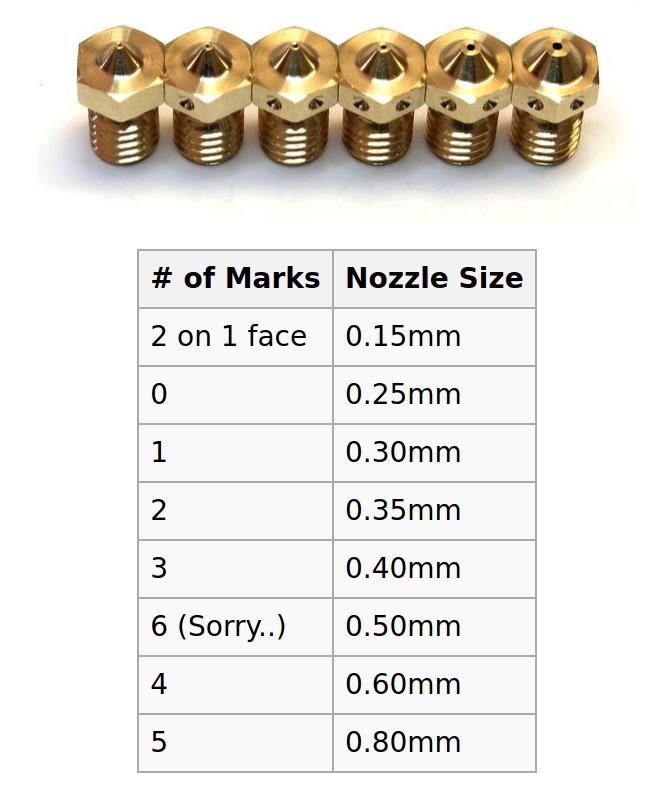
3d Printing: Nozzles
3d printing home page
-----
- Change a nozzle:
See also: (link to:) Prusa instructions - Assemble tools:
17mm or adjustable crescent wrench to hold the heater block
7mm socket to remove the nozzle - unload filament if it's loaded:
pre-heat the nozzle to 275C
Prusa menu > unload filament... - Clean extruder and nozzle:
- Open extruder idler door:
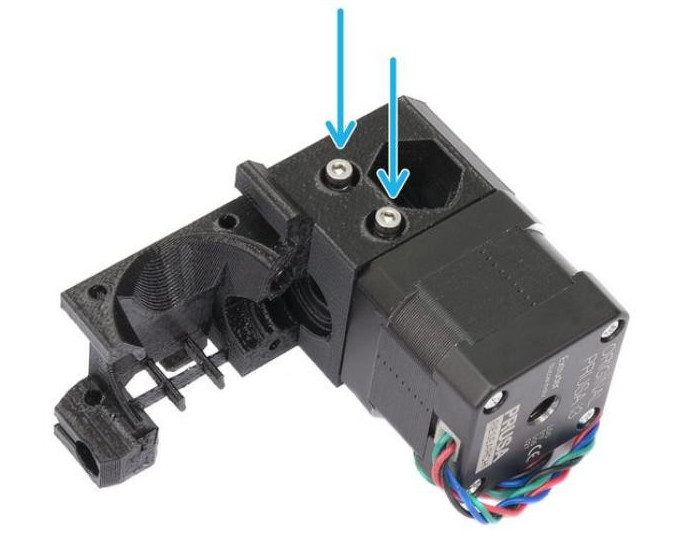
unscrew both M3x40 screws until door opensinspect to see if there is any filament stuck in the PTFE tube (if so, see (link to:) Prusa procedure for removal)
- do cold pull to clean extruder and nozzle
- Open extruder idler door:
- Remove nozzle:
- preheat nozzle to 275
- remove part cooling fan and duct piece
- when nozzle is at temp, fit 17mm (or better, adjustable) crescent wrench from front of printer to hold onto heater block
Use 7mm socket wrench on nozzle (the crescent wrench included with the E3d kit is worthless if the nozzle is stuck at all, because the wrench is relatively soft steel and deformed with the force needed; but the socket worked wonderfully) - turn off nozzle heater
- clean heater block with scraping (scotch brite, small screwdriver, exacto knife) and sanding (60 grit)
- Insert new nozzle, tighten snugly with 7mm socket (spec = 2.5Nm = 1.8 ft-lb), again holding the heater block with crescent wrench
- Replace fan duct and part cooling fan
- If you've changed the nozzle diameter size, be prepared to update the Prusa, as it will prompt you when it starts a print if the nozzle diameter of the gcode is different than what was last used.
- Insert filament and adjust idler:
.
.
.
eof

